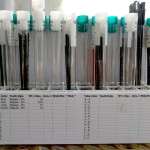
I had a stash of scroll saw blades that was slowly growing into a mound. Some of them came in a organizer with plastic tubes which I found a convenient, unfortunately there weren’t enough spaces for all the different blades and some of the tubes were missing.
On the hunt for a replacement I found the test tube sets on Amazon. I couldn’t resist at <$20 a set with 60 (2.5 times what I replaced) tubes and a rack to hold them. I chose the set that came with multi-color caps [Amazon link]. There’s not much to say about the set as it comes but don’t be surprised if a few have scuffs and scratches. Of course putting sharp steel blades in them will add scratches in no time. The stand is easy to set up and is rather sturdy, to my surprise, I was expecting to have to glue or reinforce it.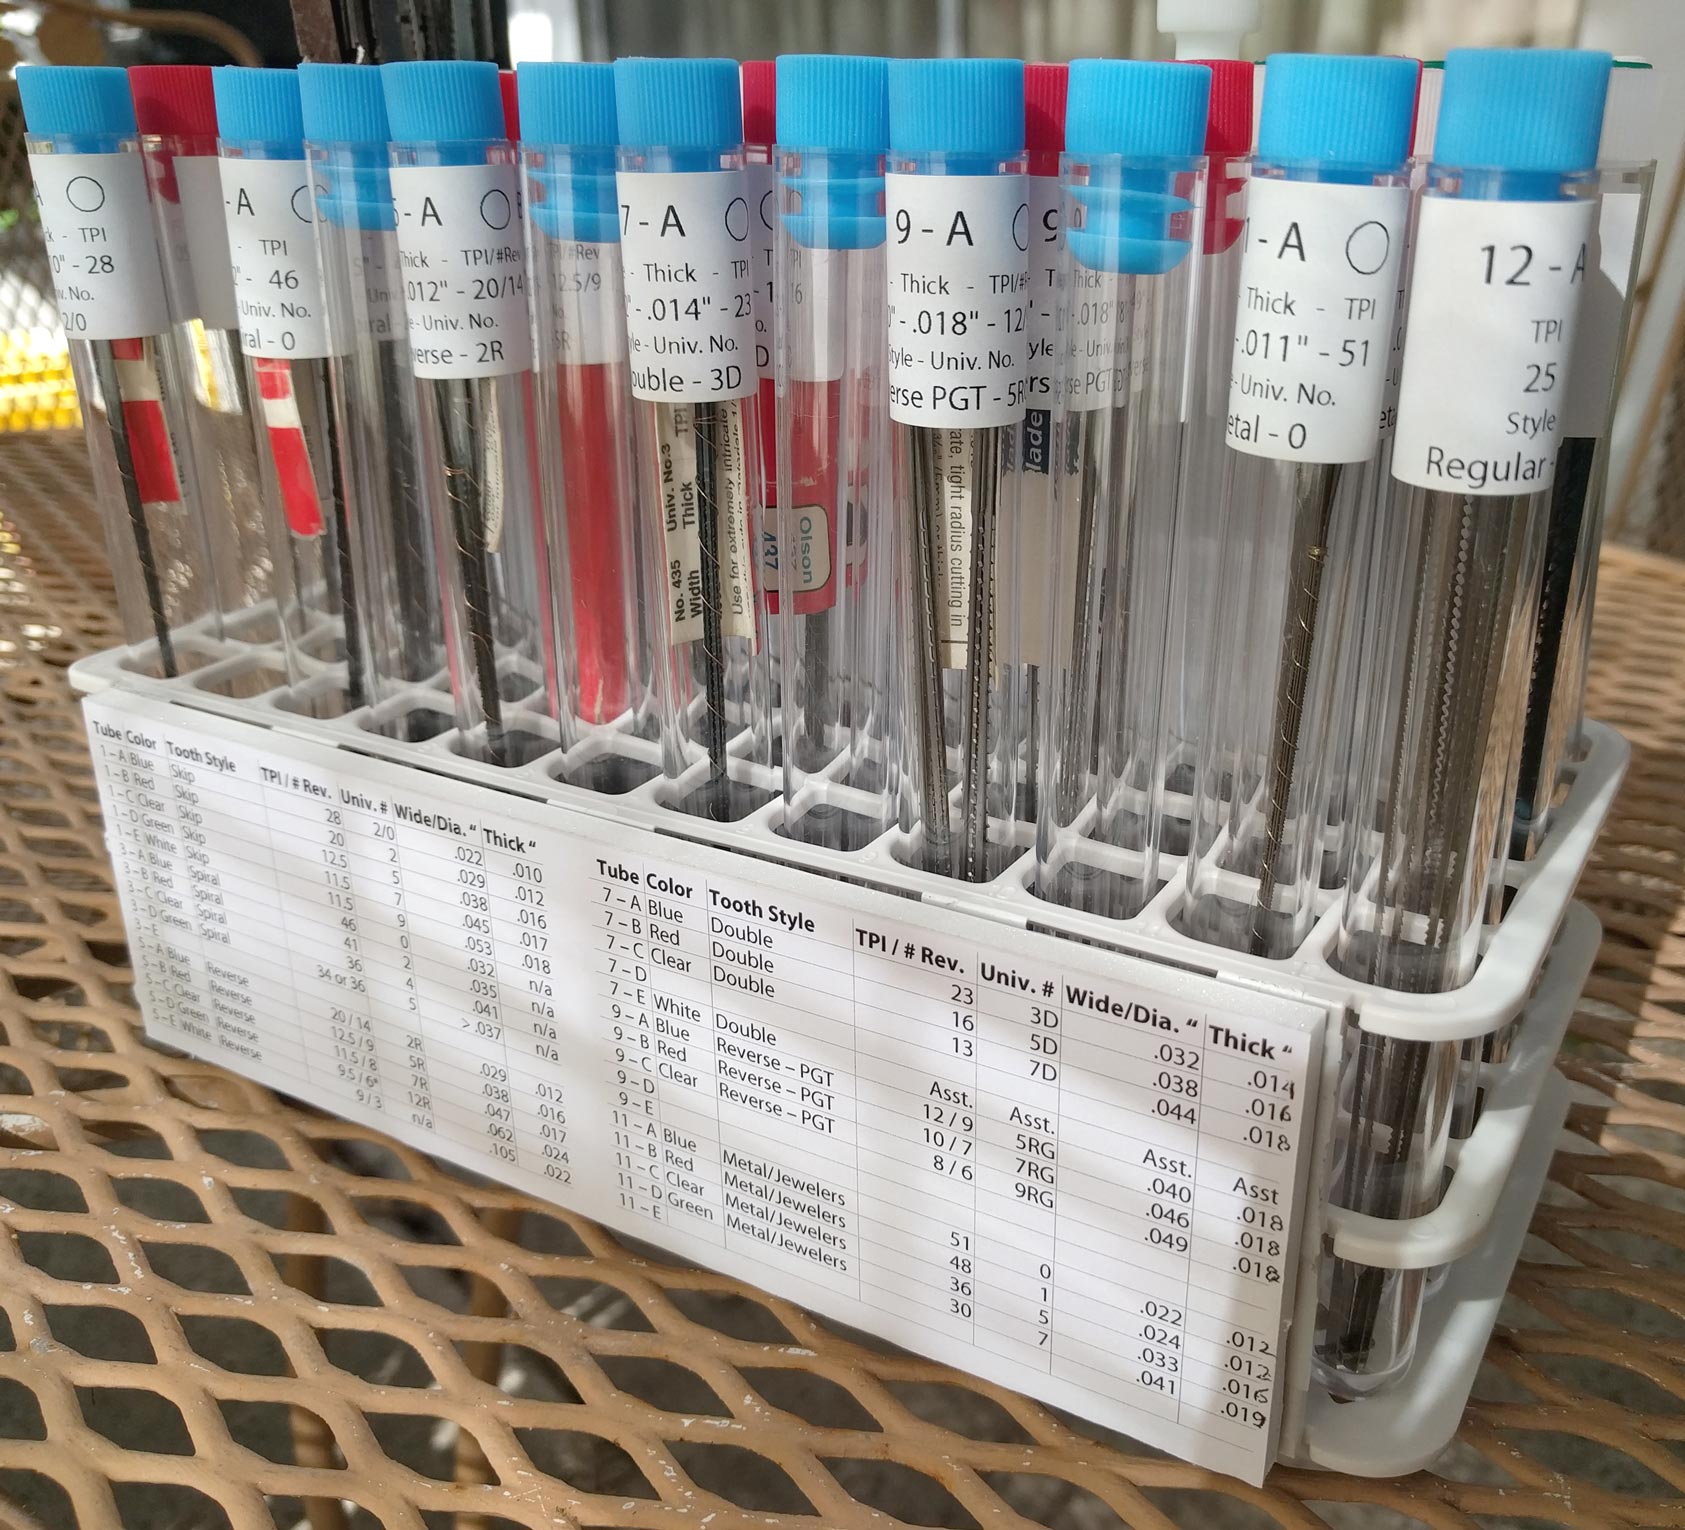
LABELS
The only thing I missed about the old organizer was the space for a numbered chart with information about each tubes’ saws and corresponding numbers on the tubes. When handling scroll saws you have to label them because it’s impossible to tell a 38 TPI skip tooth from a 32 TPI without magnification.
The rack contains an index 1-12 across the long side and A-E front to back. This made it easy to create a labeling scheme. I chose to treat 1-12 as columns and A-E as rows and indexed from front-to-back. Modify the templates to fit your preferences.
The test tube labels are dymo address labels printed two per label. These are cut in half on the grey line. They fit well around the tubes and contain most of the information from the index so that a misplaced tube can still have its contents identified. The little circle in the corner is for a dot of a marker of the appropriate color to the cap. This information is also in the index but both could be omitted. [Amazon link for a printer w/labels]
There are two templates: one for most blade types [download: dymo template regular] and one for the spiral blades [download: dymo template spiral].
INdex
Making the index in OpenOffice (a free alternative to Excel) required lots of fussing with the layout [download: Scroll-Saw_chart_template. Due to the surface area of each side of the stand I split the index into to sides: odd and even columns. It may be just as logical to do 1-6 and 7-12 so adjust the spreadsheet to your needs. Eventually, I could get it to print side-by-side with the page size and multi-page print layout. See screengrabs of the print settings.
-
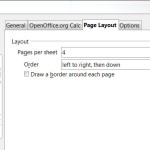
- Use the 4-into-one page print with ‘left-to-right’ selected
-
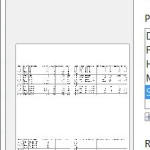
- Preview should look like this
-

- Front index, odd
-
- Rear index, even
You’ll really save yourself some hassle by using the side-to-side version [download: Scroll-Saw_chart_template_side-by-side]. Be aware that you will need to tweak these further for your font choice and printer.

Snap-fit nubs on rear of rack
The stand doesn’t come with a large flat surface but does have a frame of sorts across it’s long sides. My first attempt at making an index with blade information was to use double-sided tape between this frame and the index printed on copy paper. While this worked alright, there were two glaring problems. Given the number of tubes I’d need to use both sides to hold a split index if I wanted to actually be able to read the text. The first side (for the odd columns) was easy to mount but the back side (for the even rows) had the little snap-fit nubs protruding from the surface. The second issue was that I’d left a number of empty tubes and rows in the index to be filled in by hand when needed. It’s impossible to write on the thin paper stretched over empty space.
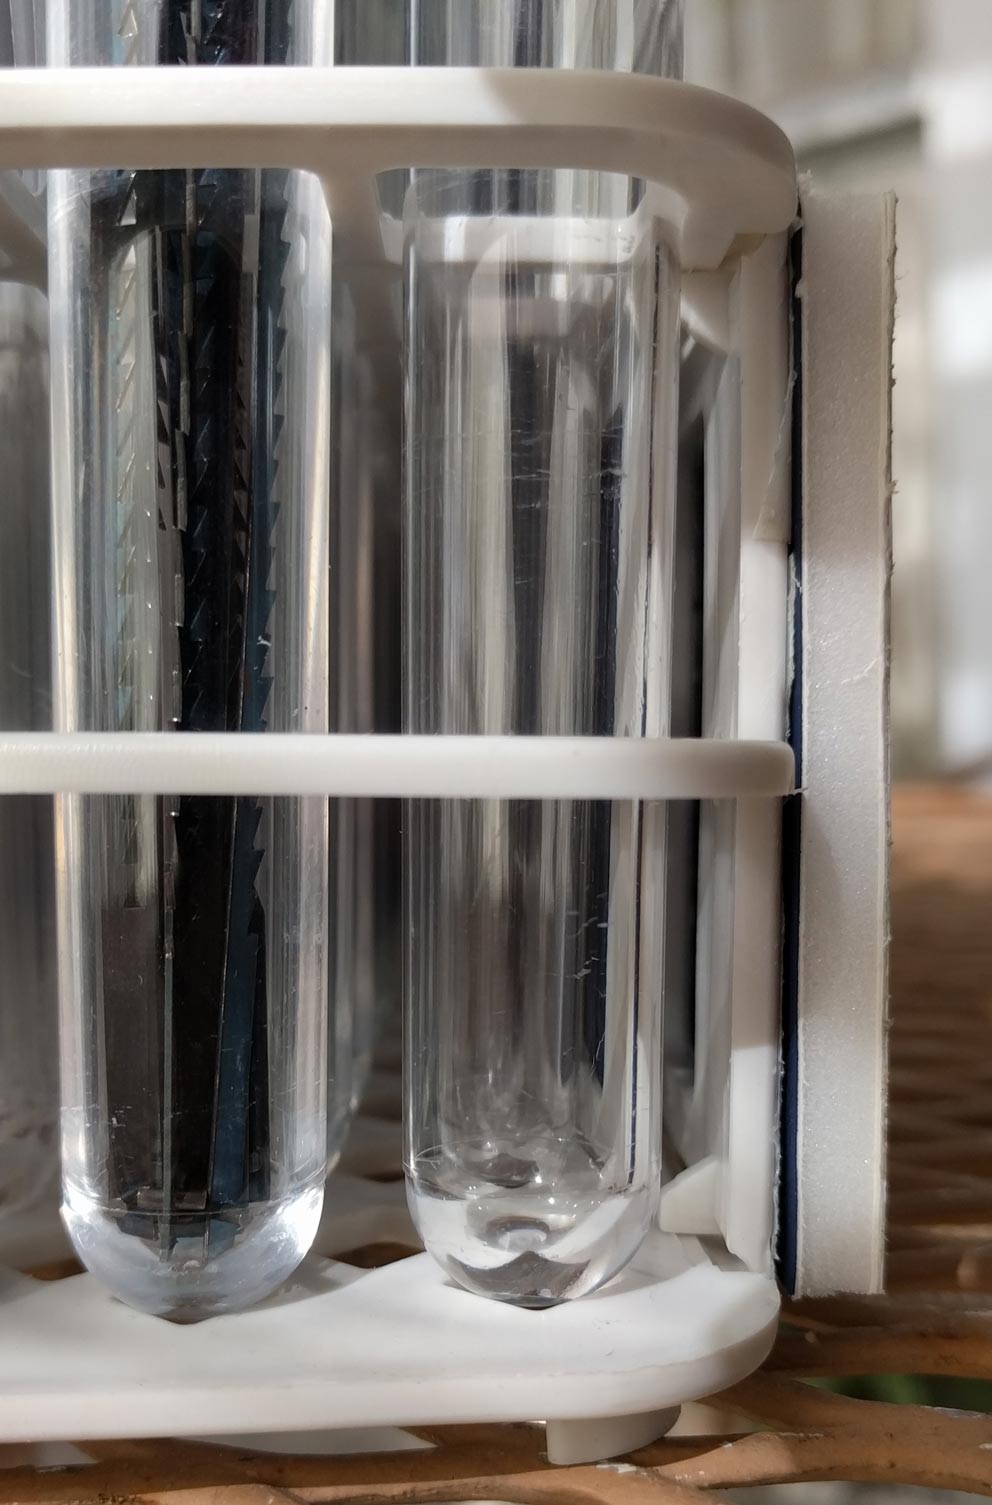 For the final version I used some foam-core as a backer. To fit over the nubs I hollowed out four circles. Again, double-sided tape was used. I used a roll of 3M 9589 which is a thick double-sided tape. I picked it up cheap at a flea market but it’s expensive new [tape info from 3M][Amazon link]. Any double-sided tape should work fine. I fussed with mounting the paper to the foam-core and the foam-core to the stand. I decided to trim out the excess tape not contacting any of the rack’s frame. Note that there’s no real reason to have the tape flush against the edge of the foam-core, it removes any margin of error during mounting and doesn’t add strength. Laminating the index to the foam-core was also problematic and required some follow-up trimming. The correct order would have been to measure the dimensions of the frame, laminate the index to the foam core, trim both slightly oversize and press them against the tape applied to the frame.
Errata
Two charts may be useful: the Olson saw blade selection chart and Hawk printable blade chart. Both contain size, TPI and universal numbers for many blades. I printed a copy of both and slipped them in between the tubes for future reference. If you don’t know already, jewelers’ saws have different blade numbers to the scroll saw universal numbers which can be confusing.

No Comments