Here I will put known etches and what I know about their background and what saws they are found on. I’ll refrain from going into the Disston etches as they are well-covered in the Disstonian Institute, unless I come across something new.
For the sake of clarity, images of the etches may be optimized. At the bottom of this page are a couple tips for taking good pictures of etches.
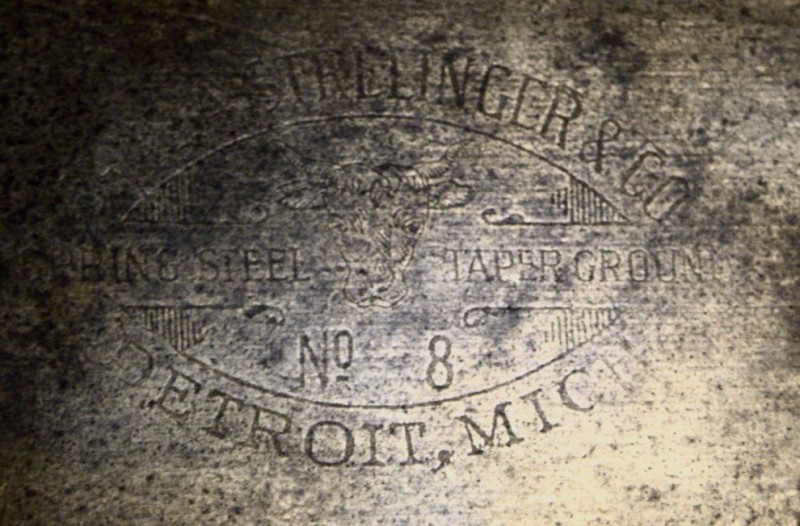
Charles A. Strelinger & Co.
 This etch is on a Bishop 16″ backsaw of undetermined date. Strelinger & Co. was a tool retailer, best known for their straight-forward product descriptions and their machinery catalogs.
Taking photos of etches
There are two circumstances, first where you have an etch and the black fill and second where you have no fill.
In order to get a good shot of an etch you need contrast between the plate and the etched surface. How you go about that depends on your etch.
With filled etches, you need to get the plate reflecting light and the etch absorbing it. The best method I’ve found is to use diffuse light at a nearly right-angle (straight-on) to the saw. It needs to be diffuse. While the etch is dark, it’s surface is smooth and has a sheen. Harsh light will reflect off the etch, so avoid your flash unless you can control it well. The camera is similarly at a nearly right-angle, just enough to the side to prevent a shadow.
With empty etches you can try the above and sometimes it will work, other times not. When it does, the etch is just a hair lighter or darker than the plate. To get the contrast between surfaces you need to make a shadow. I use a harsh light like the late-afternoon sun or a halogen from the toe or heel of the saw. The light is pointed across the surface and will make a shadow out of any tiny spec or ridge. You may have to try different camera angles to get the clearest shot, but start at a right-angle to the plate.
