Progress has been slower that desired, but on par with expected. After glue-up on Day 2 it rained intermittently, permitting no work other than removing the clamps after 24 hours. I was pleasantly surprised that no tell-tale sounds of creaking glue joints occurred.
Turning the scallops into a slab
As was mentioned in my first post, this is Borg dimensional lumber. The boards come with ‘eased’ edges, rounded over almost a quarter inch. Such will not do for a workbench surface.
One option would be to plane down the edges of each board at the same time I surfaced the faces. I decided this would waste time and material. When surfacing/jointing the boards for lamination, some of this easing gets remove along the width (4-by direction). If I squared the edges before glue up I’d still have to plane the surface flat. I might even need to remove extra material if I over-planed an edge or the boards didn’t align as well as I thought.
It would be difficult to saw the boards flat as each board varies dimensionally and they aren’t straight from the stack. Power jointing them would also be a chore as there are 22 boards for the top and aprons which would need 3 or more passes per side (22 x 2 x 3 = 132 passes). They’d still move around a bit before and during glue-up and you’d still need to flatten both sides before final assembly.
The only power tool that could save a lot of work is a bandsaw with 12″ of vertical clearance. You could joint one edge of the lamination, set it upright on the bandsaw and set fence to remove the waste. Rotate it on the good edge and repeat on the other side. Most of us don’t have a bandsaw of that size and I’d guess it to be awkward, if not dangerous. Try at your own risk. If you did have such equipment, you’d likely mill the boards down from rough stock.
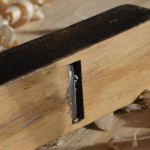
I decided to scrub all this waste after gluing the lamination. I had only glued one of the two work surface slabs and wanted to make sure my plan to scrub all that material is feasible (read: I’m not to sloth to do it). I grabbed a beat-up wooden jack plane with a very wide mouth and shaped its iron to a gentle crescent. The sole was too worn for even the rough work I needed it to do. I flattened it somewhat with the No. 4. This is an awkward task without a bench vise and consisted of me fumbling about like a …. Galoot?
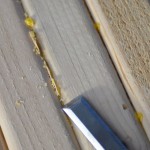 One thing you’ll need to watch out for is beads of dried glue. I wiped my slab down with shavings as Paul did in the video; it works great for the side facing up. The bottom needed cleanup with a sharp chisel, use your cheapo-chisels. At some point during planing you’ll run into a little glue in the joints but they won’t gum things up like the squeeze-out.
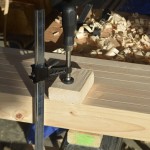 For the first bit of the job you’ll just be planing down the boards that aren’t flush. To keep the slab from moving around I clamped it to the saw horse. I’d recommend a scrap wood block to distribute the force.
This is what the slab looked like after glue-up:
The toughest part is getting the iron set correctly, too much and you’ll gouge the wood, too little and you might as well be using a smoother. The second challenge is grain direction. All the boards are nearly straight-grained, but have occasional mild grain reversals. If you dig in against the grain you might find yourself pulling out a deep chunk of split wood. I managed to think ahead for this, and matched the grain direction of all the boards. With a sharp iron and care, the soft Hem-Fir was cooperative.
The photo above was after 15 minutes or so of planing time (not actual time). You’ll have to move the clamp a couple times between the sawhorses and rotate the slab to get the grain direction correct.
You’ll notice that there is still some easing left. I wanted to make sure any dents and scratches gained from moving the slabs around would be planed away as waste just before assembly. I scrubbed the top and bottom of the slab to this level. Between them it was probably two hours actual work time.
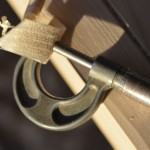 The image to the left shows one of the shavings measured in a mic. This one is a bit more than .013″, I checked a couple others and they are .007″-.017″ average. That’s all I could muster without tiring too quickly. Brawnier folks might be able to get a bit more. Using a narrower iron allows a deeper cut, but the trade-off is less width removed. The force applied to the work during this processed showed me that—despite some errors in the joints—the slab held strong.
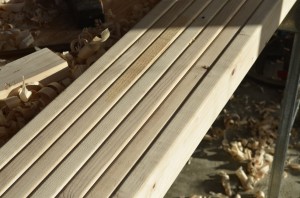
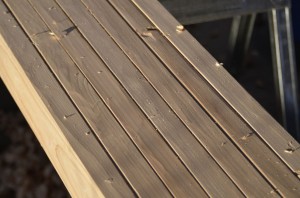
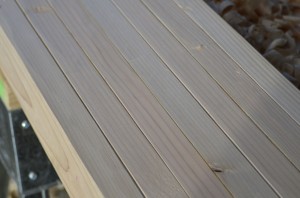
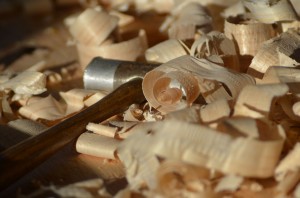
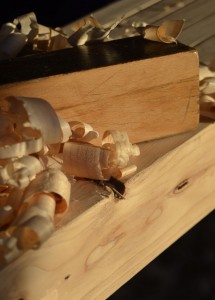
The setting sun afforded my some nice shots of the work space:

No Comments