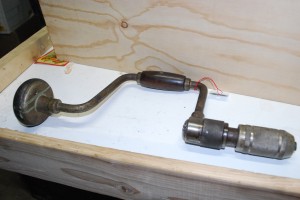
One of my recent flea market finds, a Stanley No. 921 10in-Y brace, needed some fettling. The ratchet checked out fine before I bought it. So did the jaws, I love the expression on people’s faces when you take two whole minutes to unscrew the chuck, check the jaws and put it back.
When I got it back to the shop the ratchet mechanism would lock it the clockwise direction. Which is a tad inconvenient as I’m a bit short on left handed augers. Oiling, oddly, made this worse and it just spun freely. When oiling mechanisms I usually add a little at a time till it fills the oiling hole. Bad strategy, because I later found out the internals of the ratchet are a quarter air! Needless to say oil was spewing everywhere just by looking at the brace. “Ok, you are coming apart!”
I poked around my usual online brace places and couldn’t find anyone who’d pulled one apart before. George’s Basement had a tutorial on rebuilding a Yankee ratchet, but that’s a whole other can of bearings.
So, what the heck. As I was loosening the mechanism I realized I should take some shots along the way and finally do one of those blog write-ups I’d been putting off. Somehow I managed to get my fingers in almost every shot.
The useful part:
The ratchet mechanism in this kind of brace is fairly simple. It only has 5 parts and 4 springs. With 10 clicks per rotation it moves more smoothly than my ‘paddle’ ratchets and slots itself behind my North Bros. 2101. Fairly respectable then, when it’s working.
Step 1: Getting the ratchet out of the casing
Depending on what era your brace is from, you should have either of the following spindle attachments styles:
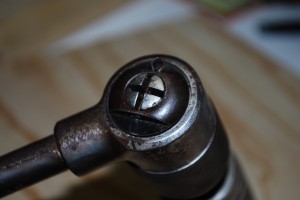
Style “A” Slotted machine screw:
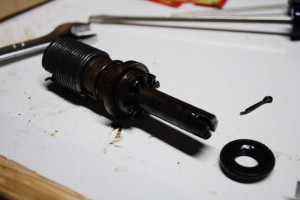
Style “B” Retention nut with cotter pin:
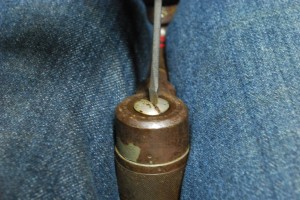
To remove style “A”:
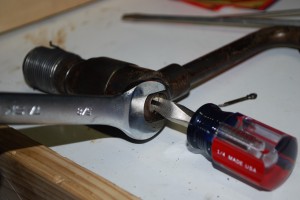
All you need to do is loosen the screw, a dose of ATF/Acetone 50/50 should help a stubborn screw. In my case that required the following setup:
Sure, I’m abusing a poor little flat-head, but it’s for a good cause. Another brace may not need so much persuasion.
For the “B” style spindle:
Fist, remove the cotter pin. Be careful with this, both outward bent ends snapped when I was gingerly straightening them. Luckily cotter’s aren’t hard to find.
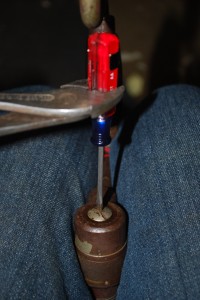
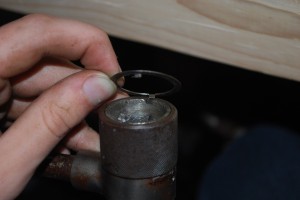
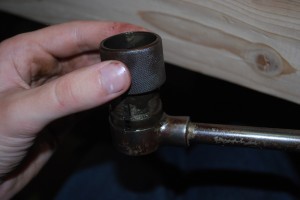
Next, you’ll need to remove the nut. If the mechanism is working properly, you can lock it in the neutral position and simply loosen the nut. If the mechanism is spinning and you can’t stop it (as mine was) or the nut will require too much torque, you’ll need to throw a screwdriver in the mix as shown:
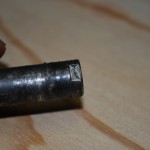
The only difference between the two spindle styles is that “A” style has a small portion of D shaft that mates with a washer on top of the housing, don’t lose that washer.
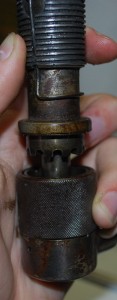
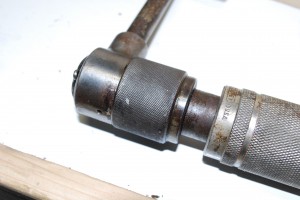
With a little jiggling or some light taps, the spindle and chuck should come out of the casing.
Step 2: Removing the ratchet components
Everything you removed is a solid piece, so not much to do except clean it. Be sure to find this washer (“B” style only). You wouldn’t want to lose it (or the washer).
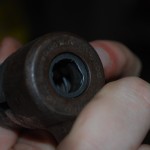
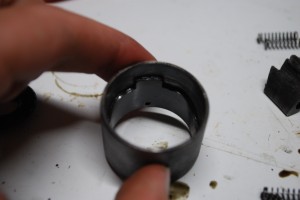
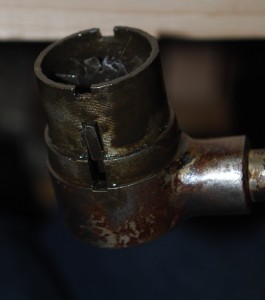
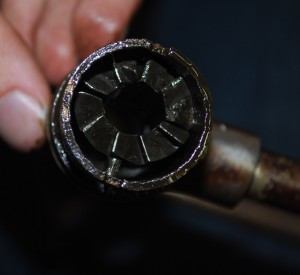
Now pull off the ratchet selector ring. The right image shows the cam portion inside this ring. It engages with protruding ears (seen next) on the ratchet to choose which are engaged.
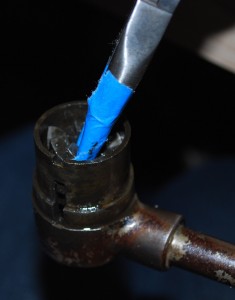
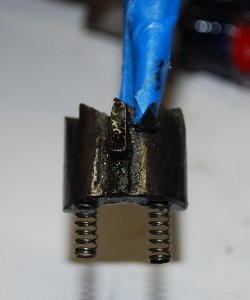
Remove the ratchet ‘teeth’ by pushing in on the ears and pulling each set of teeth straight out, mind the springs!
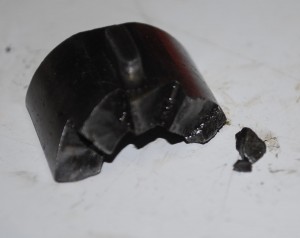
The corner tooth on one half of the ratchet cracked, which left the two little pieces to jam up the mechanism. Once I removed them everything was clean sailing. Given this part’s designed stresses, it probably should have been milled rather than cast. Hopefully it isn’t a chronic problem with this design. I’m guessing the problem was just too little support behind that end tooth.
Step 3: Oil and Reassemble
I cleaned all the parts and sparingly oiled all contact/movement points with some medium weight oil. The lighter oil I used before this servicing ran out of all the gaps. Reverse the steps above and you should have it back work:

Excellent commentary on redoing this 921. I just bought one off ebay that needs a complete going thru, everything is refurbishable except the jaws, one is complete the other has about a 1/4 to 3/8 inch broken off the tip end. Do you know of any sources for replacement jaws, either singly or as a complete drop in? I’ve been searching ebay and the net and so far have come up empty handed.
Thanks for your article and time.
Charlie
The jaws should be one of the types above. I believe all the jaws for this chuck are the style “I”. That’s one of the most common jaw types. Stanley’s jaws seem quite interchangeable so you can keep an eye out for a donor brace. I’ll rummage through the parts pile to see if I have anything.
Thanks very much for your response Brian. The jaws in my 921 are the I style but with “teeth” the full length like the J style. I have a Stanley Handyman No. H1253 I was trying to redo but finally gave up on due to so much wrong with it. I am temporarily going to use its jaws which are like style J but have no “teeth” in the center like style I. I also have ordered a $5.00 ebay Stanley which I hope has the correct/right kind of jaws in it, should know by the end of this week. Thanks very much.
Charlie