It is about time I built myself a proper bench; the MDF topped table with no vises is rather limiting. I realized this after falling into the folly myself: building a workbench is one of the largest ‘mind-sinks’ of a starting galoot’s journey. Detailed research into materials, vises, styles, arrangement and types of joinery; on and on. Oddly, all this occurs while using some inadequate surface. Add that your skills at handwork are limited and it can cause you to procrastinate.
Someone on the Porch linked to one of Paul’s videos and something clicked. I finished watching them and put the project on ‘fast-track’. Part of what lit the fire was his discussion of having built many workbenches in his career. This reminded me that I don’t have to live forever with the first bench I build. The other part was the material: dimensional softwood. As Paul described it, “Accepting the lesser species”. Once I accepted it, I could move on.
This series of posts on building the bench is both my journal of the project and an opportunity to fill in some blanks that weren’t covered in Paul’s excellent series.
Material
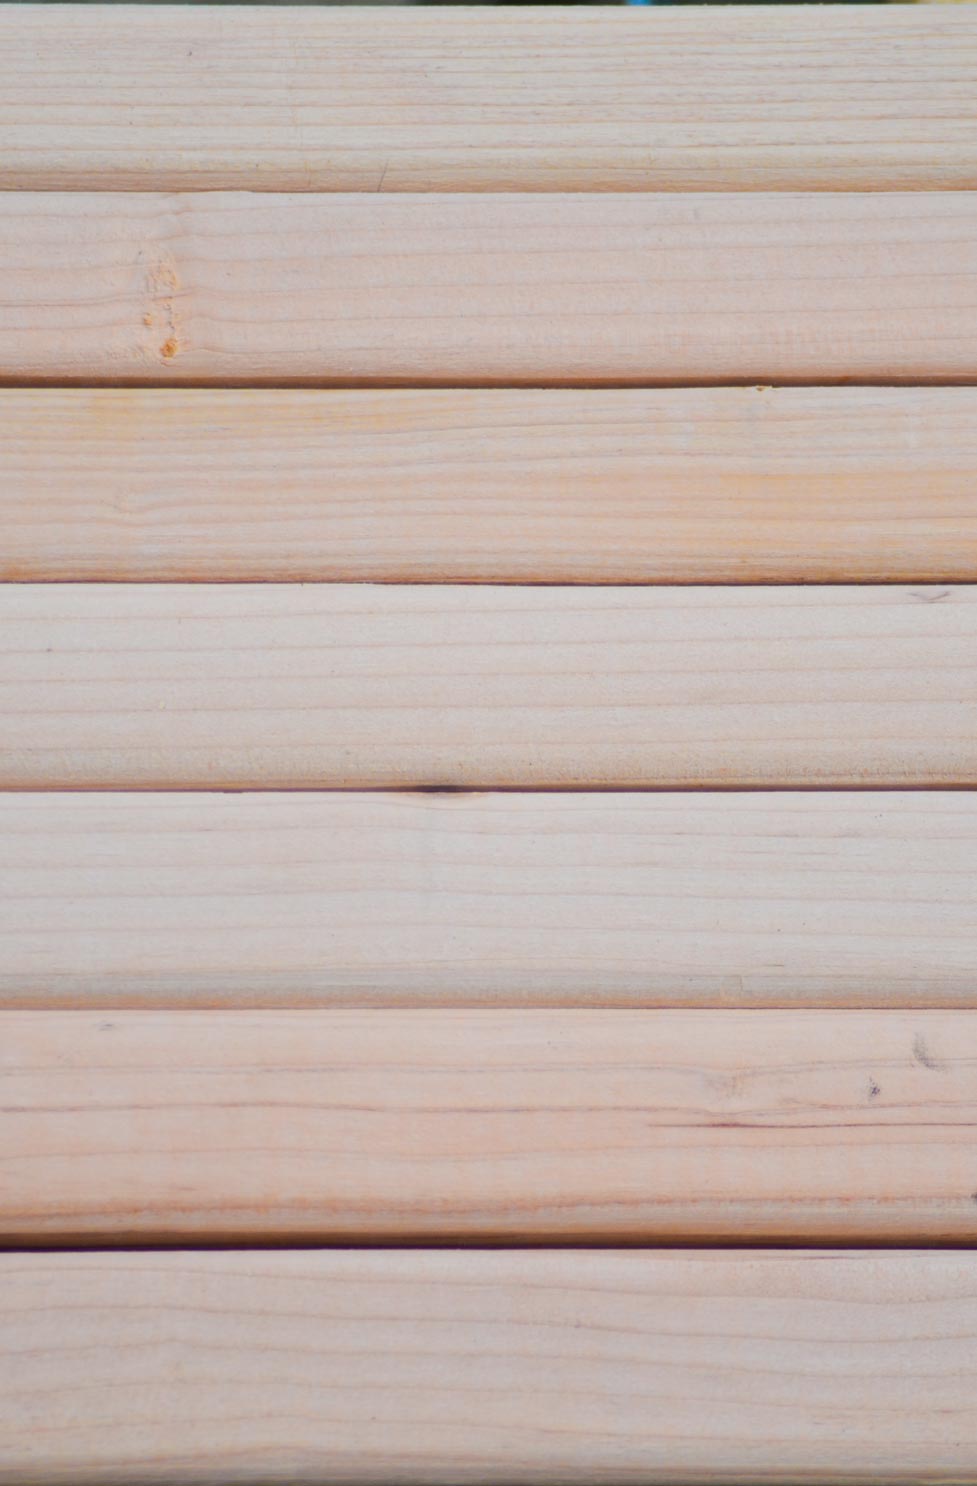
Appearance of the Hem-Fir blend of wood
You can have fast & cheap, fast & good, or cheap & good but not all three. I went with cheap and fast (or so I thought). The material I ended up buying was 2×4 dimensional ‘whitewood’ from orange Borg. In southern California Borg whitewood is Hem-Fir (click for details). I tried to buy S-P-F lumber from a more local and friendly lumberyard but could only find (8) good lengths when I needed (29). The Hem-Fir is easy to work, looks nice planed and is relatively straight, tight grained. It is also cheap: it works out to $0.84 a board foot. The downside: The corners are very eased (rounded) and the boards aren’t planed well. Some vary over a 1/16 in. in thickness.
Stock Prep
The boards are sold 2″x 4″x 8′, I decided on a 6′ long bench. This helps a bit when selecting boards, as I only needed six foot clear lengths and could cut around knots. I chose my stock to have at least one clear (or nearly clear) edge for the top of the bench. Compromises were made because the Borg was closing and they probably weren’t going to get another pallet down for me to pick out $20 of boards.
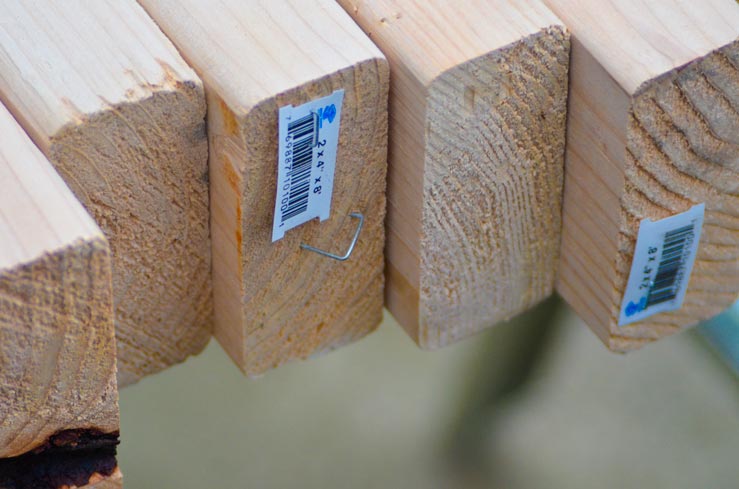
Get those staples before they get your tools!
Before you do anything else, get all those staples! Not just do they insist on tagging each board, but they always add extra staples on the best boards. Feel free to ask one of my plane irons how it liked running into a staple.
I chose the boards with the tightest, straightest and clearest grain for the front lamination. Seconds will go to the rear lamination or aprons and the rest for the legs and rails.
To avoid having to plane extra stock I cut all the pieces a little over 6′ 1″. That leaves plenty of room for trimming to size after glue-up. These were all cut by hand with a D-8.

A squirrel stops by to find out what the ruckus is about.
A planing exercise
In Paul’s videos, he explains that you just need to smooth the faces of the boards to remove the planer marks. Unfortunately mine need more work because the quality of the milling is lower. Some boards needed a couple light passes to get a smooth surface. Others needed hogging away. I used a No. 4 (actually my 604) for most of this but I may break out a jointer later on to get some of the boards to joint.
The threatening clouds chased me inside before glue-up.
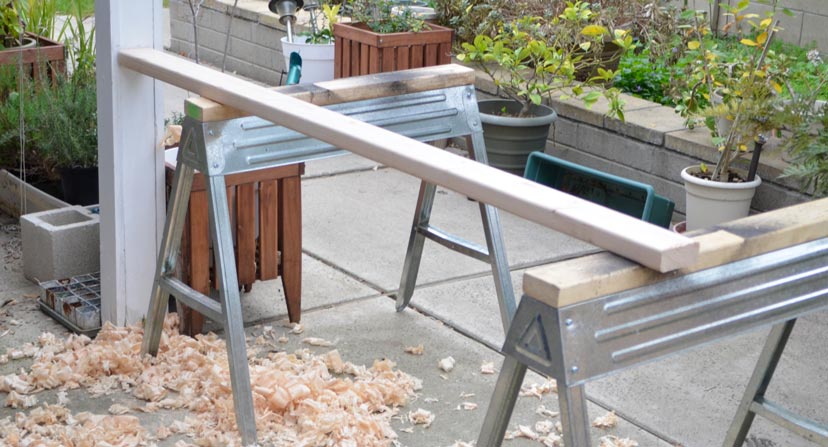
Using the porch post as a planing stop.
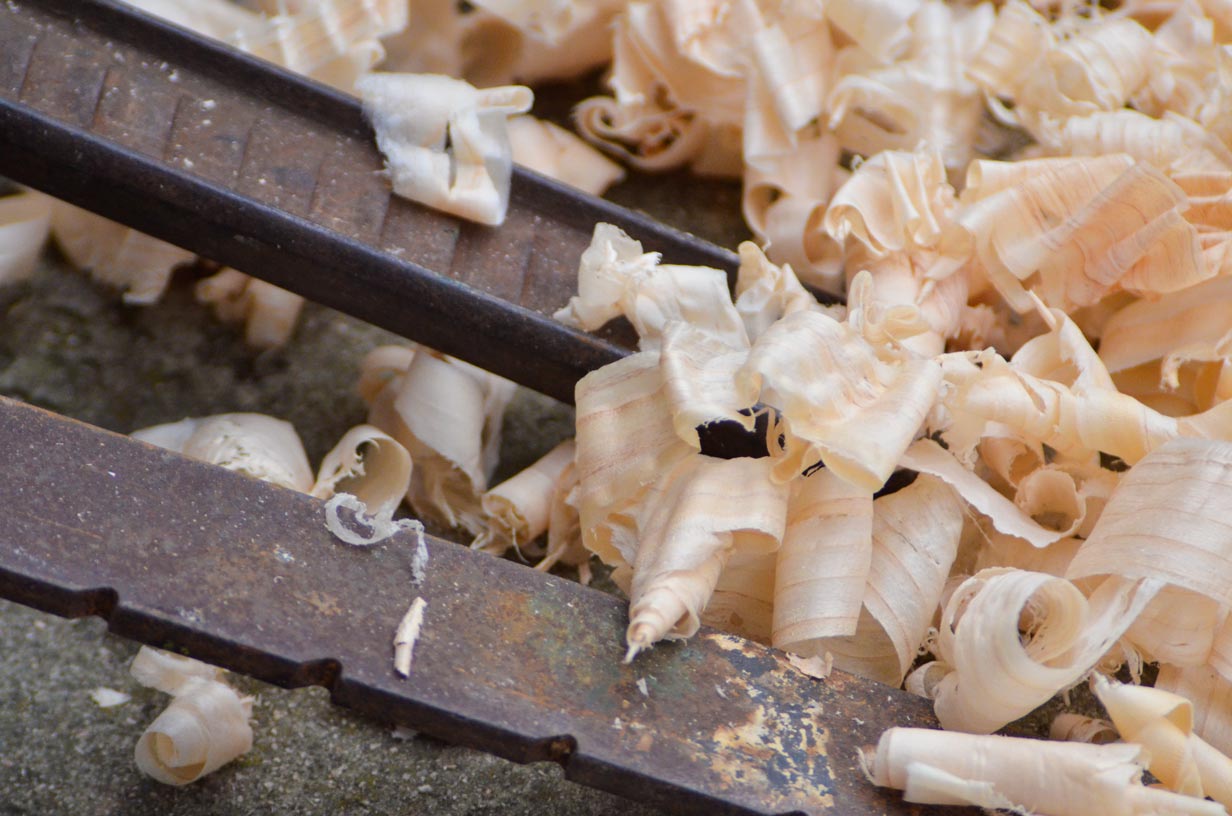
The day’s shavings next to cabinet clamps.

No Comments